LiveAgent

LiveAgent is a customer support platform for managing chats, emails, calls, and support tickets.

The LiveAgent Widget connects LiveAgent to OnePageCRM, letting you view a contact’s previous support tickets and conversations.


  • You need a LiveAgent account to connect it to OnePageCRM.
  • Only  Account Owner or Administrators can configure and manage the integration.

In this article:


Enable/Disable the LiveAgent Widget


1
In LiveAgent, click on the Gear icon → go to SystemAPIAdd API key.

LiveAgent | Gear icon | System | API page


2
Copy the API token and click OK.

💡 Save your API token before leaving this page. For security reasons, it's only shown once.

3
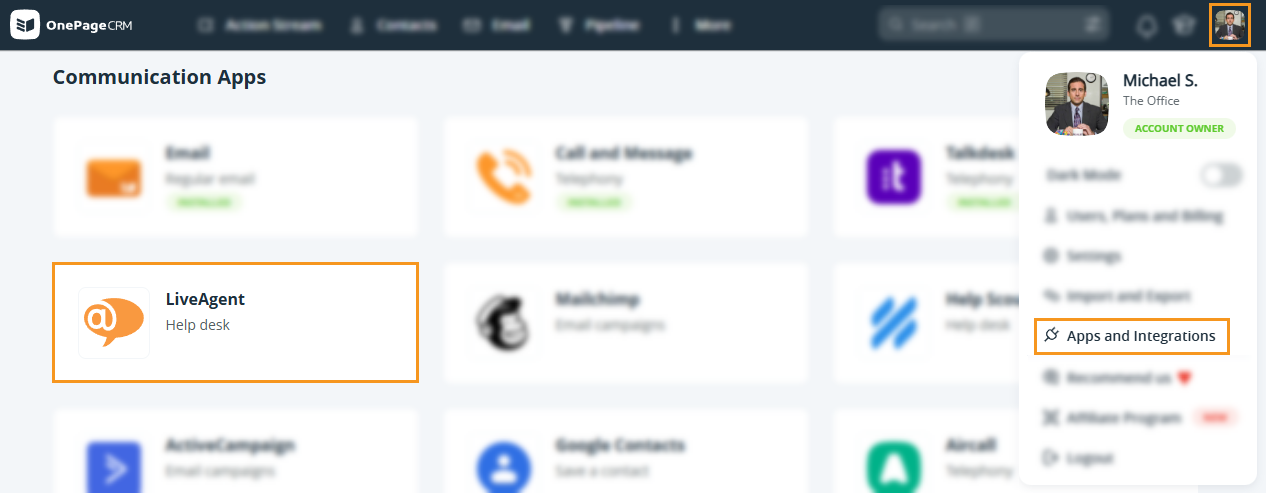
In OnePageCRM, go to LiveAgent under Apps and Integrations → click Install.

OnePageCRM | Apps and Integration page


4
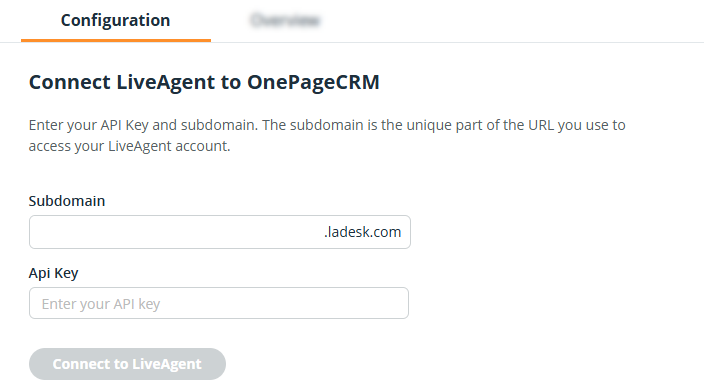
Under Configuration → add the subdomain and paste the API token → click on Connect to LiveAgent.

OnePageCRM | LiveAgent


💡 The subdomain is the first word after https:// in the URL and is used to log into your LiveAgent dashboard.


Find/Use the LiveAgent Widget

Jump up to Article's Overview ⮝
1
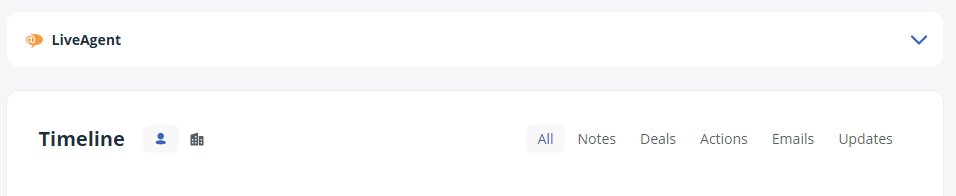
Open a contact → find the Widget above the Contact Timeline → click to expand.

Click on the LiveAgent widget to expand it.


2
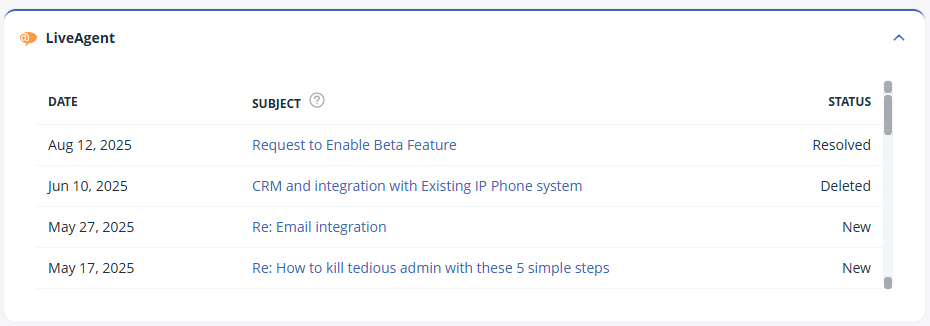
Once expanded, it will display:

  • Date - The date when the ticket was created
  • Subject - The subject line and a link to view it in LiveAgent
  • Status - The status of the ticket - it gets updated if the status changes
  • Expanded LiveAgent widget with the data


    💡 The widget checks the first 10 email addresses and displays any matching data.

    💡 Drafted or scheduled emails will not be displayed.

    💡 Any user can view the content of the ticket in LiveAgent by clicking the URL.

    Did this answer your question? Thanks for the feedback There was a problem submitting your feedback. Please try again later.

    Still need help? Contact Us Contact Us