
Calendly
The Calendly integration is available on the Business and Max plans. Upgrade here.
Connect Calendly to OnePageCRM to drop booking links straight into your emails and let contacts pick a time in one click.
Once connected, every meeting booked through Calendly shows up automatically as a Next Action on the matching contact, and the Calendly widget keeps a record of their meetings.
- Only Account Owner or Administrators can configure and manage the integration.
- You need a separate Calendly account.
In this article:
| Connect Calendly | Disconnect Calendly |
| Insert a Calendly booking link into an email | Calendly Widget |
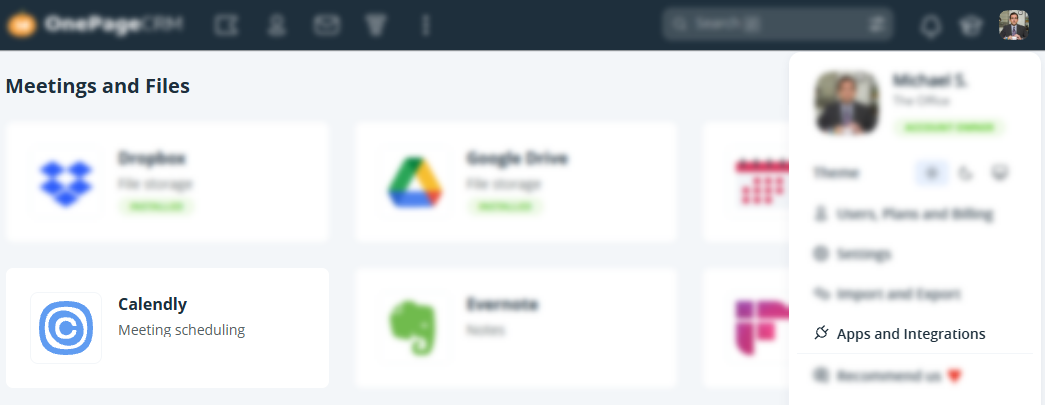
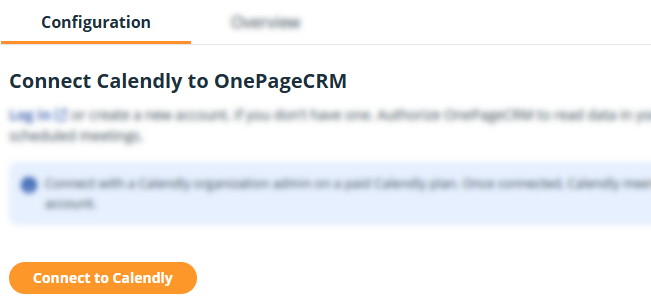
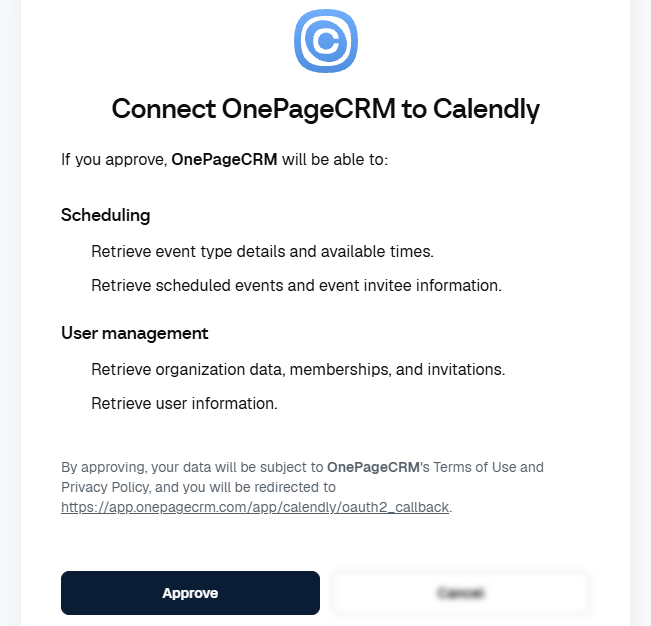
Connect Calendly
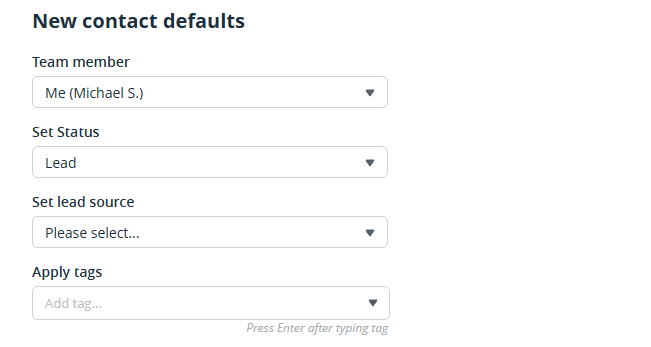
💡 Defaults apply only to new contacts. Existing contacts are not updated.
💡 A booked meeting appears as a read-only Next Action until its time passes.
💡 Meetings cannot be edited from OnePageCRM.
💡 Meetings don't auto-complete and need to be marked as completed manually.
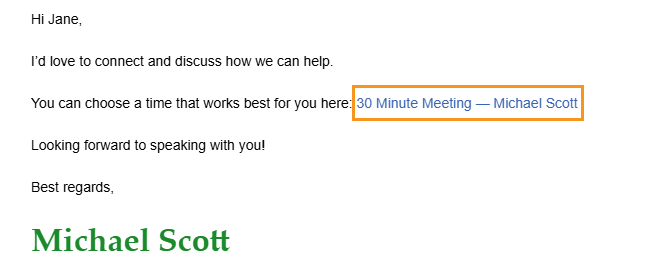
Insert a Calendly booking link into an email
Jump up to Article's Overview ⮝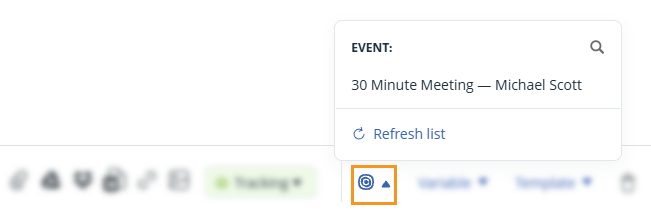
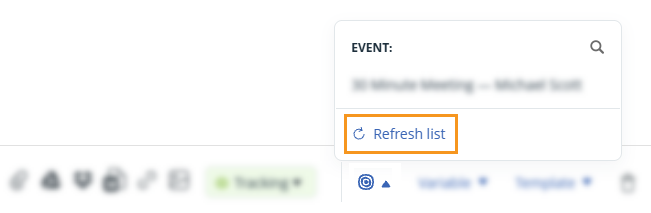
💡 The list shows all your team's event types. Click Refresh list to pull in new ones.
Disconnect Calendly
Jump up to Article's Overview ⮝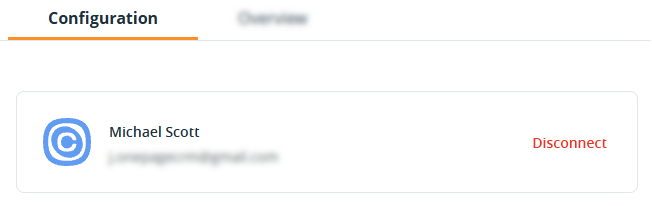
💡 Existing Calendly actions remain and can be edited.
💡 Your Calendly meetings are not affected.
Calendly Widget
Jump up to Article's Overview ⮝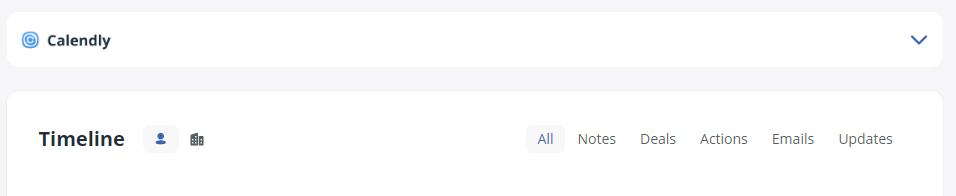
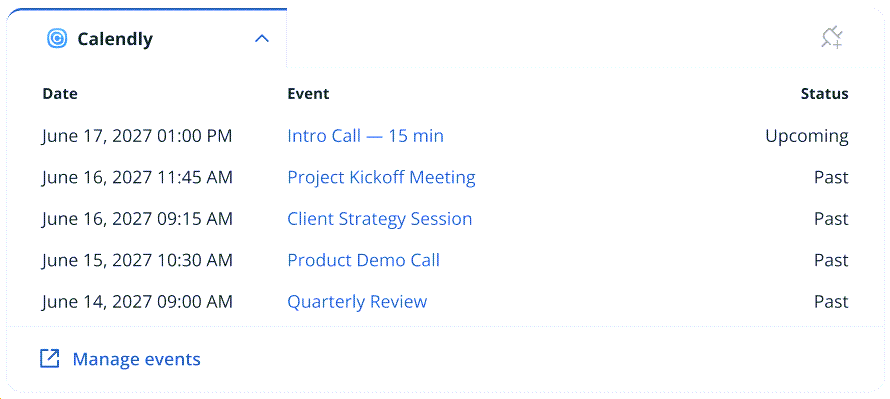
💡 Access Calendly easily to Manage events.
| Status | Description |
|---|---|
| Upcoming | An active event with a start time in the future. |
| Past | An active event with a start time in the past. |
| Canceled | The event has been canceled in Calendly. |