Create and store email templates with variables (mail merge)
Email Sync lets you create reusable Email Templates to save time, streamline communication, and keep your messages consistent.
Check out our free sales email templates.
In this article:
| Create Email Templates | Delete Email Templates |
| Attach Files to Email Templates | Use Email Templates |
| Edit Email Templates |
|
Create Email Templates

You can decide if this Email Template is visible to all users within your account, or only to yourself. Simply untick the checkbox Visible to all users.

You can save an email you are writing in the email pop-up window as an email template as well.
Once you have finished writing your email, click the Template option at the bottom of the email pop-up window → select Save message as a template.

Attach files to Email Templates
Jump up to Article's Overview ⮝You can add files to your template from:

To remove a file, hover over the attachment and select the bin icon.

💡 You can also add a URL link to your email text in the template by clicking on the URL link icon.
💡 Add a picture to your template by clicking on the photo icon at the bottom of the textbox.
💡 You can send up to 30MB per email in attachments.
Edit Email Templates
Jump up to Article's Overview ⮝
💡 You can clone a template to create a similar one by hovering over the template and clicking on the clone icon.

Delete Email Templates
Jump up to Article's Overview ⮝
💡 Email Templates cannot be deleted in bulk.
Use Email Templates
Jump up to Article's Overview ⮝To use the Email Templates, you need to be connected to the Email Sync, and the email needs to be sent from OnePageCRM directly to your contacts.
Once you open a new email, click on Template → select the appropriate template → click Send.

💡Variables in the template will stay blank unless a contact is selected or a fallback is set.
💡 Email Templates can also be used when sending bulk emails.
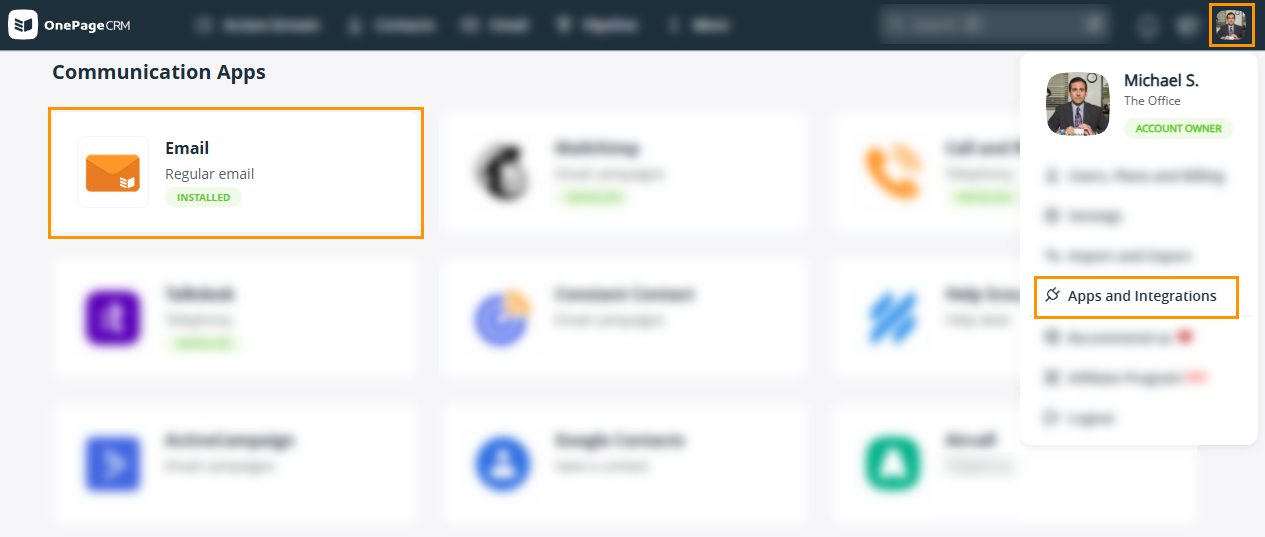
💡 Email templates are only available once you connect your email account to the Email sync feature.