Connect and sync emails to your CRM
Email integration is an important feature of any small business CRM.
Connecting your email account with OnePageCRM will ensure that all incoming and outgoing email conversations are automatically stored in your CRM account.
In this article:
| Full Email Sync vs. Manual Email Logging |
| Connect email to CRM |
| Apply OnePageCRM label |
Full Email Sync vs. Manual Email Logging
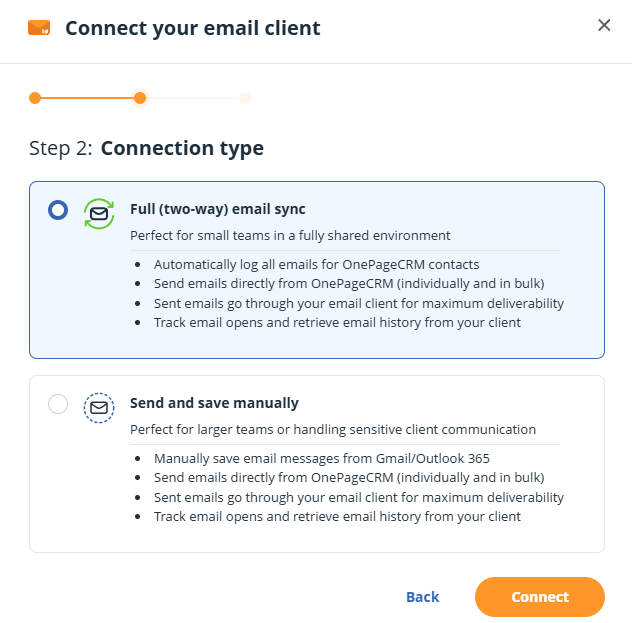
There are two options to connect your email account to OnePageCRM.
Full two-way email sync - Perfect for small teams in a fully shared environment
- Automatically log all emails for OnePageCRM contacts
- Send emails directly from OnePageCRM (individually and in bulk)
- Sent emails go through your email client for maximum deliverability
- Track email opens and retrieve email history from your client (available Business or Max plan)
Send and Save emails manually - Perfect for larger teams or handling sensitive client communication
- Manually save email messages from Gmail/Outlook 365
- Send emails directly from OnePageCRM (individually and in bulk)
- Sent emails go through your email client for maximum deliverability
- Track email opens and retrieve email history from your client (available Business or Max plan)
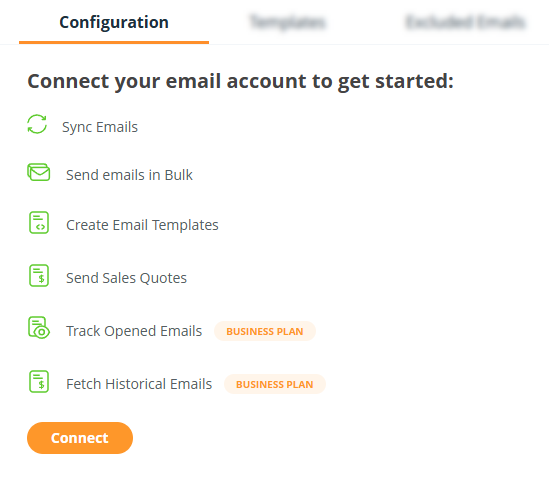
Connect email to your CRM
Jump up to Article's Overview ⮝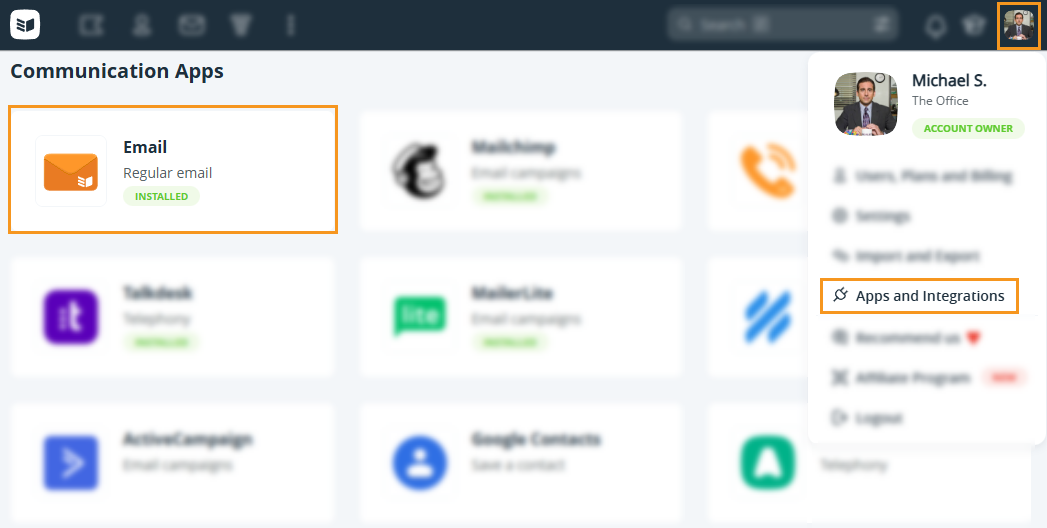
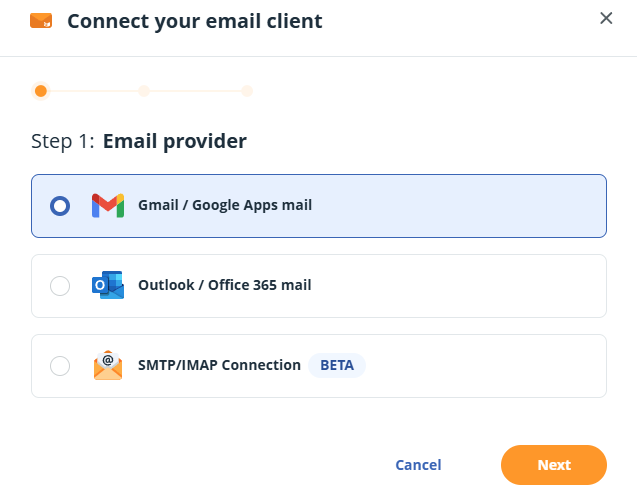
💡 See here how to connect SMTP/IMAP email provider.
Full (two-way) email sync
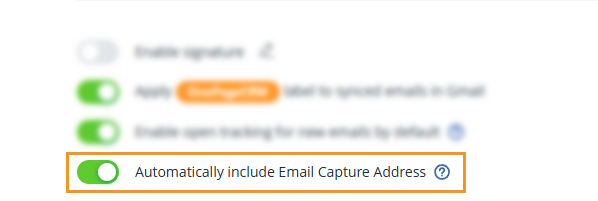
- Enable the Email Capture Address to be added automatically to outgoing — especially handy when using the Send and Save Manually option.
💡 Forward uncaptured emails from new contacts using your Email Capture address.
💡 Save emails using the OnePageCRM Lead Clipper, see here.
💡 All captured emails in the CRM are visible to all Users, including attachments on emails
Apply OnePageCRM label
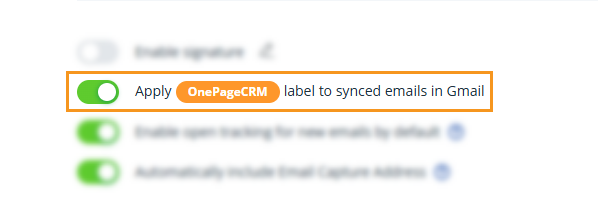
Jump up to Article's Overview ⮝Enable automatic labeling of incoming and outgoing emails with OnePageCRM to show they’re stored in the CRM.
Go to Email → in the Configuration tab scroll down to Apply "OnePageCRM" label in Gmail/Outlook365 to each synced email.
💡 Manually removing this label from your own email client will not delete it from OnePageCRM.