
Help Scout
Help Scout is customer service software that brings customer email and chat conversations into a shared inbox.
The OnePageCRM integration lets you add new contacts or open existing contacts, view contact details, and see associated Deals directly from Help Scout.
- You need a Help Scout account to connect it to OnePageCRM.
- Only Account Owner or Administrators can configure and manage the integration.
In this article:
| Display contact details from OnePageCRM in Help Scout |
| Help Scout Widget |
Display contact details from OnePageCRM in Help Scout
| Connect to Help Scout |
| Select/Edit contact details to be displayed in Help Scout |
| Create a new contact from Help Scout |
Connect to Help Scout
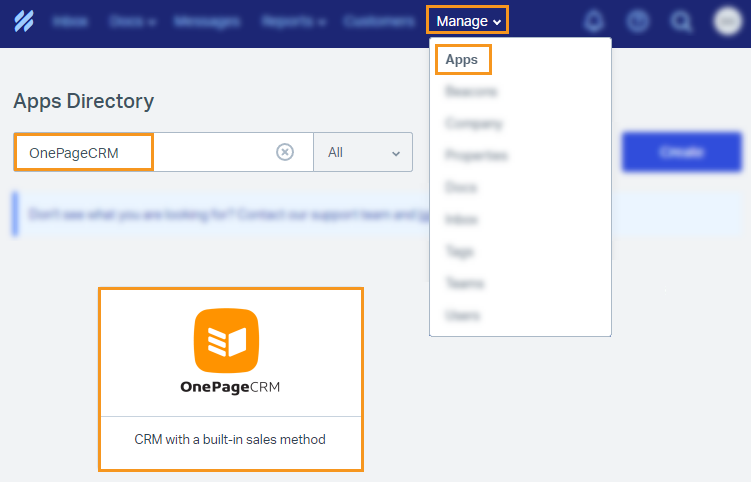
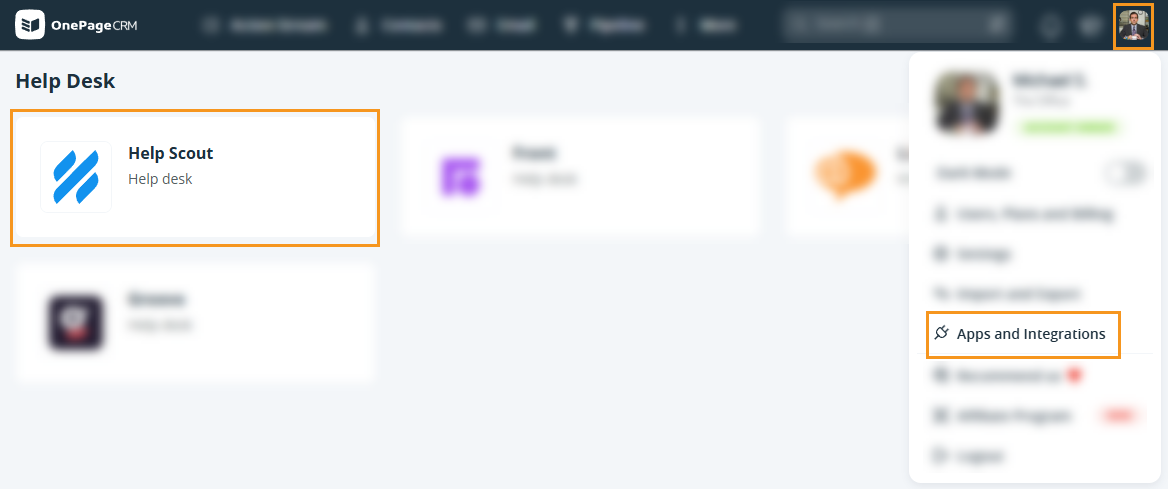
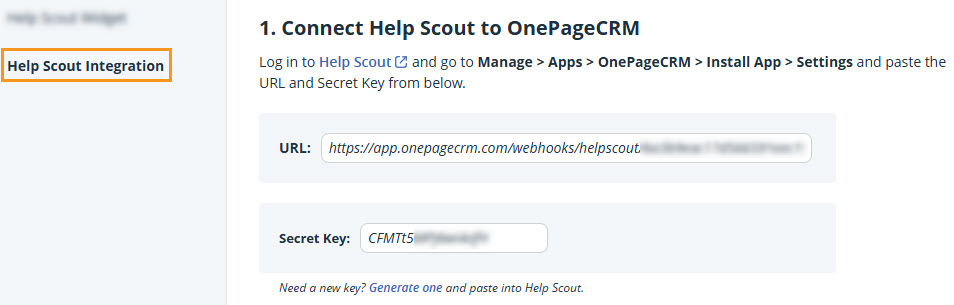
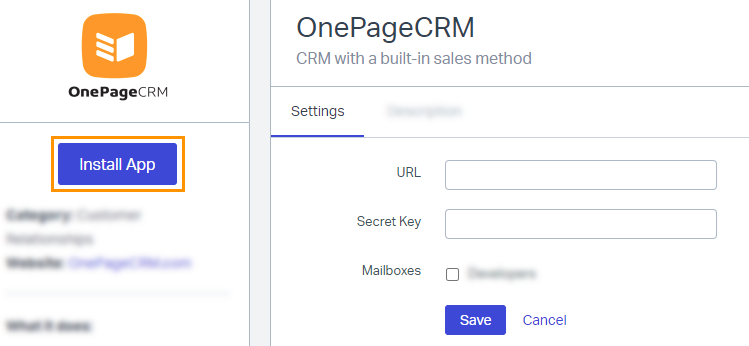
💡 Help Scout will ask for a URL and Secret Key. Find both on the Help Scout Configuration in OnePageCRM.
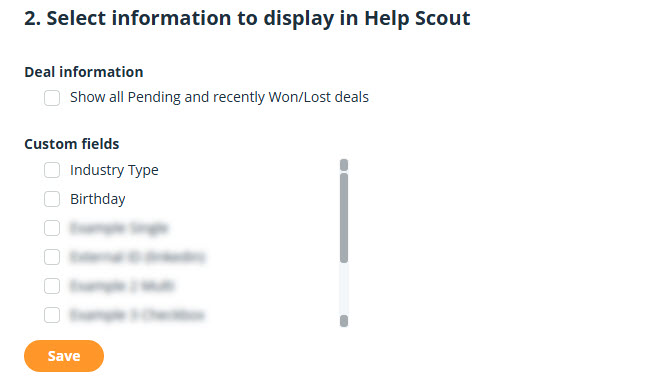
Select/Edit contact details to be displayed in Help Scout
Jump up to Article's Overview ⮝
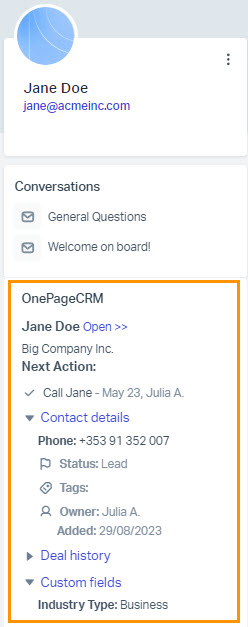
💡 Key details from OnePageCRM will be displayed, including Next Actions, Tags, Status, etc.
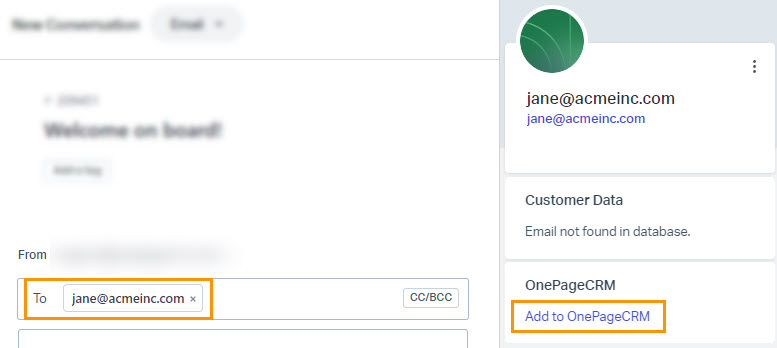
Create a new contact from Help Scout
Jump up to Article's Overview ⮝You can add new contacts from Help Scout and save them in the CRM once you are connected to the Help Scout integration.
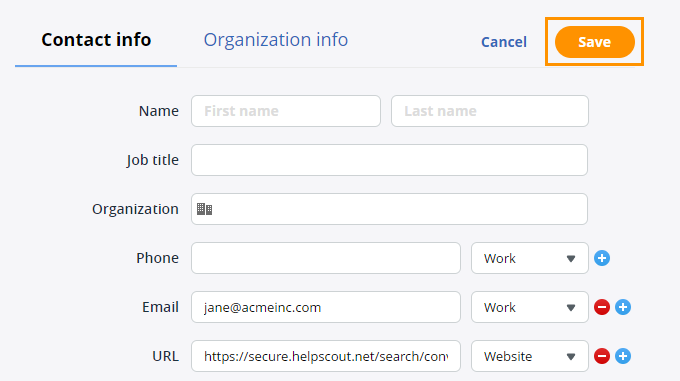
💡 The email address and Help Scout conversation URL are added automatically.
💡 Any available contact details, such as first and last name, are added automatically.
Help Scout Widget
Jump up to Article's Overview ⮝The Help Scout Widget lets you view previous emails and chats with your contacts directly in OnePageCRM.
| Enable the Help Scout Widget |
| Find/Use the Help Scout Widget |
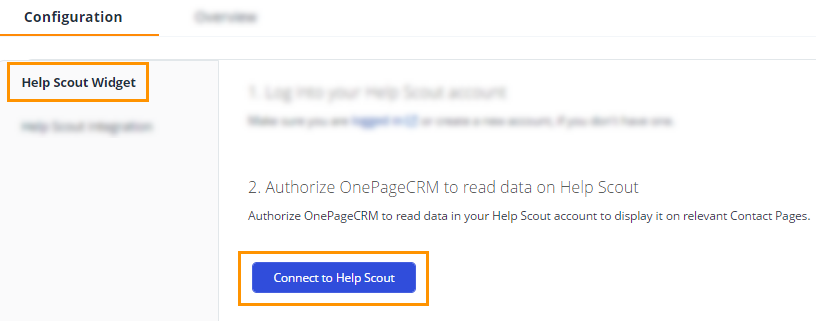
Enable the Help Scout Widget
💡 Make sure you’re logged in to your Help Scout account.

Find/Use the Help Scout Widget
Jump up to Article's Overview ⮝

💡 The widget checks the contact’s first 10 email addresses and shows any matching data.
💡 The widget pulls information from all Mailboxes in Help Scout.
💡 The widget and its data are visible to anyone who can access the contact.
💡 Emails where the contact is CC'd will appear in the Widget. BCC'd emails will not.